
Introduction to Homemade Ice Cream
Making homemade ice cream is one of those delightful kitchen adventures that blends creativity with delicious rewards. Wondering how to make homemade ice cream yourself? You’re in luck! The joy of crafting this cool treat at home lets you control flavors, textures, and ingredients, giving you an unparalleled dessert experience. Whether you’re craving a classic vanilla scoop or experimenting with seasonal twists, learning the basics is the first step. If you want to understand more about the essential components, check out our complete guide to them to dive deeper into ingredients that make or break your frozen delight.
Why Make Ice Cream at Home?
Why settle for store-bought when you can customize every lick? Making homemade ice cream empowers you to avoid preservatives and additives found in many commercial brands. Plus, it’s a fun activity to share with family or friends, turning the kitchen into a creative playground. By mastering your own recipes, you can whip up easy homemade ice cream batches tailored to your taste buds, from extra creamy to boldly flavored. You might also want to explore comprehensive reviews of the best models if you’re considering investing in an ice cream maker.
Basic Ingredients and Equipment Overview
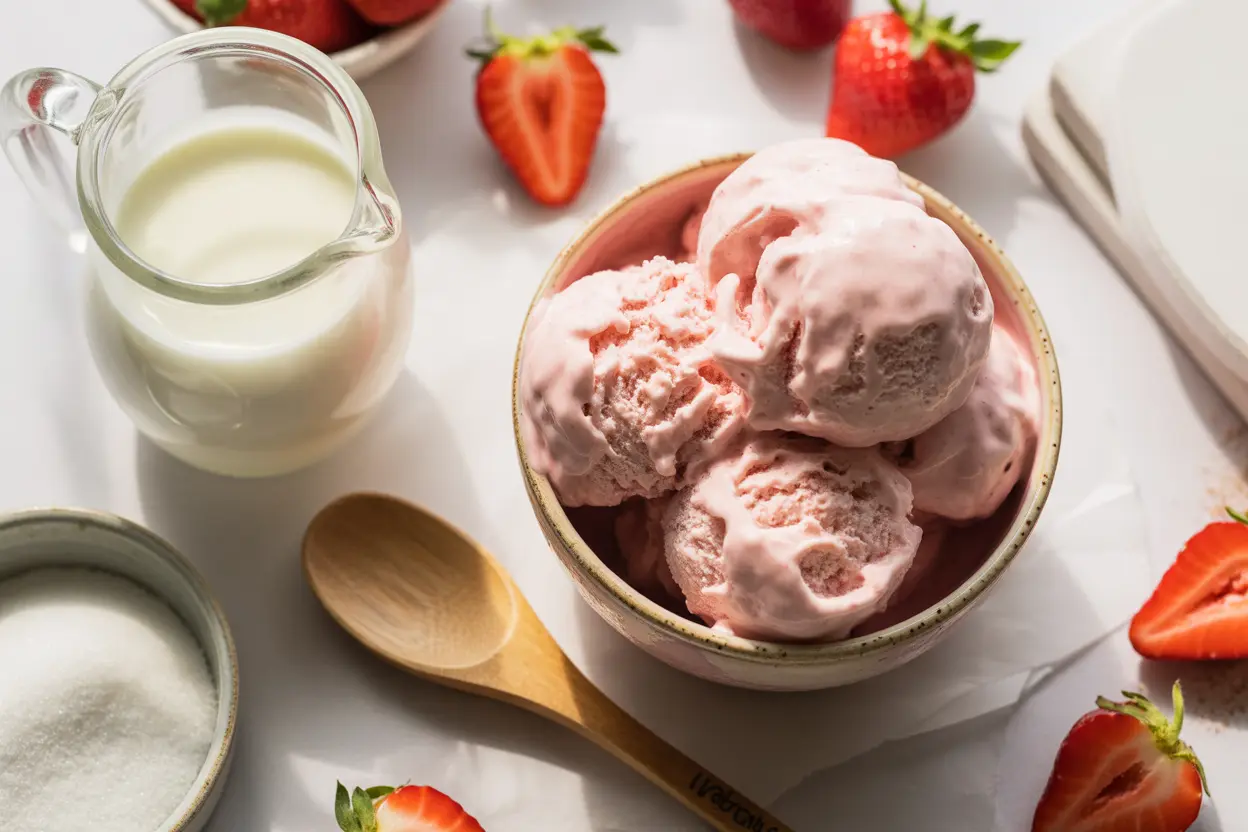
At its core, making homemade ice cream requires a few staples and some tools. Typically, you’ll need cream, milk, sugar, and your favorite flavorings as the foundation. Equipment ranges from simple bowls to specialized ice cream makers designed to churn and freeze simultaneously. No machine? No problem! There are techniques that let you create luscious ice cream with just a few household items and some elbow grease. For more on making it without gear, you can explore the science behind a creamy texture.
Essential Ingredients for Homemade Ice Cream
Creating delicious ice cream starts with understanding the ingredients. The magic lies in the balance of dairy, sweeteners, and flavorings — all working together to deliver that perfect scoop.
Dairy Components: Cream and Milk
The cream and milk ratio is crucial for creamy, smooth ice cream. Heavy cream adds richness and a velvety mouthfeel, while whole milk lightens the texture and prevents it from becoming too dense. Many recipes balance these two for an ideal consistency that won’t freeze too hard.
Sweeteners: Sugar and Alternatives
Sugar doesn’t just sweeten; it lowers the freezing point, helping keep your ice cream scoopable straight from the freezer. You can use regular granulated sugar, but alternatives like honey, maple syrup, or sugar substitutes offer unique flavors and cater to dietary needs. For those aiming for sugar-free ice cream, experimenting with erythritol or stevia can keep sweetness without the crash.
Flavorings and Add-ins
From classic vanilla extract to bold chocolate swirls, flavorings turn your ice cream base into a personalized treat. You can add virtually anything — fruits, nuts, or extracts — to elevate your dessert. Keep reading to hear about another simple recipe with creamy results featuring luscious flavor combos.
Equipment Needed for Making Homemade Ice Cream
Whether you’re a gadget lover or prefer minimalist cooking, there’s an ice cream making method for you.
Using an Ice Cream Maker
An ice cream maker does the heavy lifting by consistently churning the mixture while freezing it, preventing ice crystals from forming and ensuring a smooth finish. These machines come in manual and electric versions and can vary in complexity. For tips on choosing the best, check out comprehensive reviews of the best models.
Methods Without an Ice Cream Maker
No ice cream maker? No worries! You can still craft creamy ice cream by manually stirring the mixture during freezing intervals. Using a sealed container and continually mixing every 30 minutes breaks up ice crystals. Alternatively, the no-churn method blends sweetened condensed milk with whipped cream, then freezes it to a dreamy consistency. Discover the science behind a creamy texture for a deeper understanding.
Step-by-Step Guide to Making Homemade Ice Cream
Ready to get your hands cold and your taste buds happy? Let’s walk through how to make homemade ice cream step by step.
Preparing the Ice Cream Base
Start by heating your cream and milk gently in a saucepan. If you’re making custard ice cream, whisk in egg yolks and cook until slightly thickened, which adds richness and a luscious texture. Sweeten with sugar or alternatives, and stir in your chosen vanilla extract or flavoring. Make sure to chill the base thoroughly—this helps it freeze faster and smoother.
Churning Process Explained
Pour your chilled base into the ice cream maker and let it churn according to the machine’s instructions. Churning incorporates air and prevents large ice crystals, resulting in a soft-serve texture. Without a machine, pour the base into a freezer-safe container and stir vigorously every 30 minutes for a few hours to mimic this process.
Freezing and Setting the Ice Cream
Once churned, transfer the mixture to an airtight container and freeze it for several hours to firm up. This sets the ice cream to scoopable perfection. Covering the surface with parchment paper before sealing helps prevent ice crystals.
Adding Fruits, Nuts, and Other Mix-ins
Fold in your favorite ice cream mix-ins like chopped nuts, chunks of fruit, or chocolate chips near the end of churning or right before the final freeze. This keeps them evenly distributed and prevents sinking or clumping.
Popular Homemade Ice Cream Flavors and Variations
With the basics down, you can dive into classic favorites and adventurous flavors alike.
Classic Vanilla and Chocolate Recipes
Nothing beats homemade vanilla ice cream flavored with high-quality bourbon vanilla extract. Simple yet elegant, it’s a crowd-pleaser that pairs well with countless desserts. Alternatively, a rich homemade chocolate ice cream made with cocoa powder or melted chocolate satisfies chocoholics. Craving either? Try another simple recipe with creamy results to master these classics.
Creative and Seasonal Flavors
Seasonal fruits like peach, mango, or berry blend into fresh, bright ice creams. For the adventurous, try unique additions like lavender, matcha, or caramel swirls. Nutty options such as toasted almonds or pecans add crunchy texture. Don’t shy away from experimenting using our complete guide to them.
Tips and Tricks for Perfect Homemade Ice Cream
To elevate your homemade ice cream game, here are some handy pointers.
Achieving Smooth and Creamy Texture
Texture is king in ice cream. Use a higher ratio of heavy cream to milk for a creamier mouthfeel. Churning adequately, whether by machine or hand-stirring, prevents icy chunks. Incorporating a surprising addition for the perfect mouthfeel—like a splash of vodka or glycerin—can keep your ice cream scoopable and smooth. Learn more about this in a surprising addition for the perfect mouthfeel.
Common Mistakes to Avoid
Don’t rush the chilling process; a warm base leads to icy textures. Overfilling your ice cream freezer storage container leaves no room for expansion and affects freezing. Avoid skipping the intermittent stirring if you’re using the no machine method. Last but not least, using low-quality ingredients or insufficient sugar can lead to bland or rock-hard results.
Healthier Alternatives and Dietary Considerations
Got dietary restrictions? No problem; there are plenty of ways to enjoy creamy treats.
Dairy-Free and Vegan Ice Cream Options
Discover alternatives with coconut, almond, or oat milk bases. These options provide creamy textures without dairy, perfect for lactose intolerance or vegan lifestyles. For more info, check out this guide to dairy-free alternatives.
Low-Sugar and Sugar-Free Recipes
Swap out traditional sugars with erythritol, monk fruit, or stevia to reduce calories without sacrificing sweetness. Pair these with rich and flavorful bases to compensate for sugar reduction and keep your ice cream satisfying.
Storing and Serving Homemade Ice Cream
Proper storage preserves your hard work and keeps flavors fresh.
Best Practices for Storage and Shelf Life
Use airtight, freezer-safe containers to keep ice cream fresh and avoid freezer burn. Label your containers with the date to track freshness—ideally consume within 1-2 weeks. For best texture, scoop your ice cream slightly softened, removing from the freezer 5-10 minutes before serving. Sharing your homemade treat with a warm slice of banana bread or freshly made gluten-free waffles creates a memorable dessert.
Creative Serving Ideas and Presentation Tips
Presentation makes a difference! Use colorful bowls, sprinkle toppings like crushed nuts or chocolate shavings, and add a drizzle of homemade sauces. Pair your scoops with fresh fruit or baked goods to impress guests and elevate your summer dessert ideas.
FAQs
Do I need an ice cream maker to make homemade ice cream?
Not at all! While ice cream makers simplify the churning process to get that smooth texture, you can definitely make ice cream without one using the no-churn methods or manual stirring. These rely on mixing the base regularly during freezing or folding whipped cream into a sweetened base. It might require a bit more effort, but the result is just as rewarding. For a deep dive into this, explore the science behind a creamy texture.
What are the best ingredients for creamy homemade ice cream?
Hefty amounts of heavy cream combined with whole milk create that classic creamy base. Adding egg yolks for custard-style ice cream enriches texture. Sweeteners like sugar not only add taste but help keep the ice cream scoopable. High-quality flavorings such as bourbon vanilla extract or real cocoa make a world of difference. Check our complete guide to them for ingredient insights.
How long does it take to make ice cream at home?
Depending on your method, it typically takes 20-30 minutes to churn in a machine plus several hours freezing to set. Without a machine, prepare to stir every 30 minutes over 2-4 hours. Chilling the base beforehand can speed up the freezing phase. Plan ahead for the ice cream freezing time to enjoy perfect results.
Can I add chunks of fruit or nuts to homemade ice cream?
Absolutely! Adding ice cream mix-ins like chopped nuts, berries, or chocolate chips adds fantastic texture and flavor bursts. For best results, fold them in near the end of churning or just before the final freeze to avoid sinking or clumping.
How should I store homemade ice cream to keep it fresh?
Store in airtight, freezer-safe containers to prevent freezer burn and keep flavors vibrant. Label with freeze dates and aim to consume within two weeks for optimal freshness. Allow the ice cream to soften slightly at room temperature before scooping to maintain creamy texture. For serving inspiration, pair it with a warm slice of banana bread or freshly made gluten-free waffles.
Conclusion
Homemade ice cream offers a delicious and customizable treat that you can craft from simple ingredients using various techniques—whether you have an ice cream maker or not. By understanding the essential ingredients, mastering preparation and churning, and exploring creative flavors and dietary options, anyone can enjoy rich, luscious ice cream straight from their own kitchen. Following key tips for smooth texture and proper storage ensures each batch is as enjoyable as the last. Ready to dive in? Your perfect scoop awaits!